Introduction
In this piece of documentation, we will be creating the classic EggClockFace widget.
You can find the original version here: Part 1 Part 2
Setting up the class
The first thing to do is to set your class's name. This is done with the "Class name:" field:
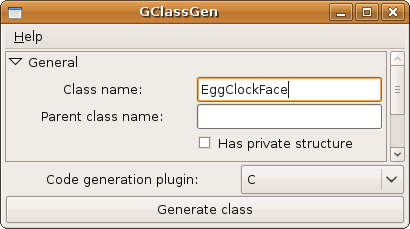
You then need to specify the name of the parent class. This is done with the "Parent class name:" field:
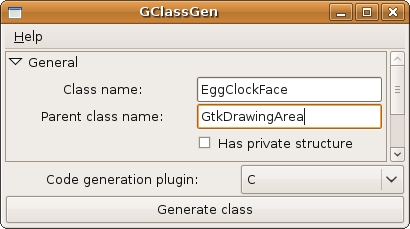
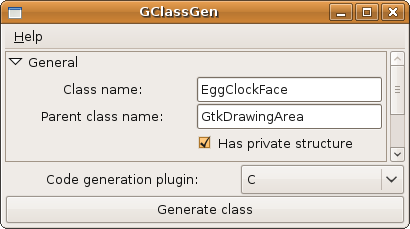
You now have the option of whether or not your class will have a private data structure. This is true in our case, so we will check the "Has private structure" button:
Properties
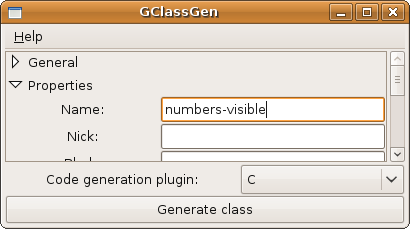
While there are no properties in the original article, we will add one for demonstrative purposes. We will be adding a "numbers-visible" property, which will determine whether or not we want to show the numbers on the clock.
The first step is to specify the name, which is given with the "Name:" field:
The "Nick:" field specifies the nick name of the property, which is the display name of the property. In our case, it's it "Numbers visible":

The "Blurb:" field specifies a description of the property, which, for us, is "Whether or not numbers are visible on the clock face":
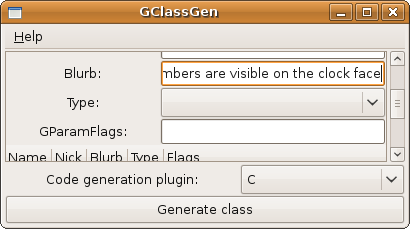
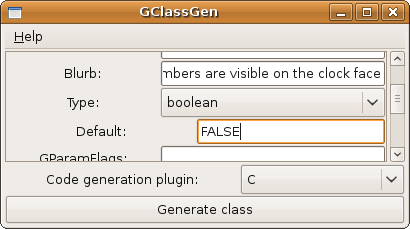
The "Type:" field specifies of what type the property is. When you select the type an extra set of options will be shown with further options for the type that you chose. In our case, we choose "boolean" as the type and set its default to FALSE.
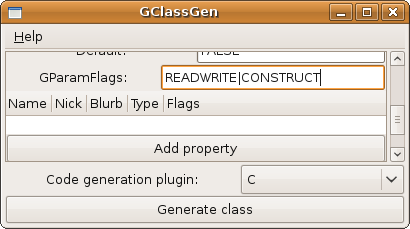
The "GParamFlags:" field specifies the creation flags of the property. You can get more information on these flags here. In our case, we want to specify "READABLE|CONSTRUCT":
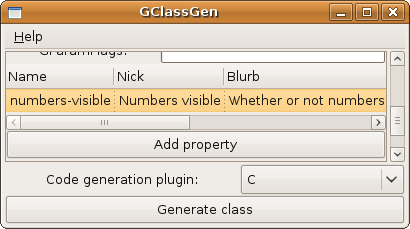
We can now add the property by pressing the "Add property" button. If we want to delete a property later, we can double-click it to select it and press the Delete key to remove the property.
Signals
The EggClockFace has one custom signal, "time-changed". To specify a name, we use the "Name" field:

The next step is to specify the signal flags. You can find more information about these flags here.
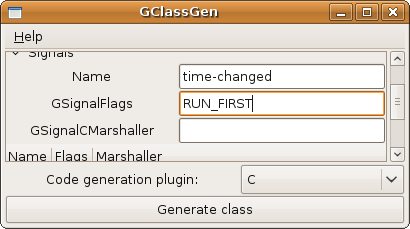
The "GSignalCMarshaller" field is used to specify what arguments and return type a signal handler should have. See here for more information on what this should be. Our signal takes two int arguments and returns void, so we want "VOID:INT,INT":
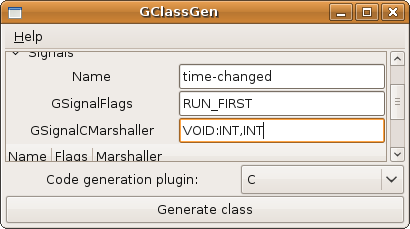
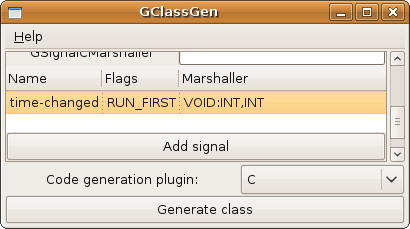
We can now add the signal with the "Add signal" button. Like with properties, if we want to remove it later, we can select it and press the Delete key to remove it.
Interfaces
The EggClockFace doesn't implement any interfaces. If your class requires a GInterface, then all you need to do is specify the C type of the interface. For example, if your class implements GtkBuildable, then you would put "GtkBuildableIface" in the "Interface type" field. If your interface is a little more aged, like GtkCellEditable, then there is no "Iface" suffix. You'll have to keep this in mind when determining what to put in this field. You can then add the interface by pressing the "Add interface" button.
Finishing the class
The final steps are to choose which code generation plugin you want to use to generate your class. This is done using the "Code generation plugin:" combo box. The purpose of having multiple plugins is to allow multiple languages to be generated. If you want more information on writing these plugins, you should check out the developer documentation. You can get information about the plugins by going to the Help menu and clicking on "About Plugins".
Once you've chosen your code generation plugin, then all you need to do is press the "Generate class" button. This will bring up a save-as dialog for the source file
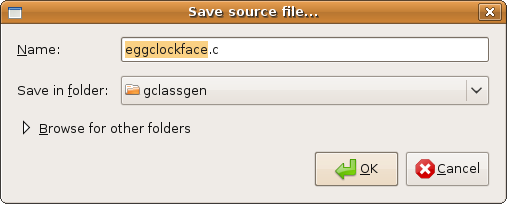
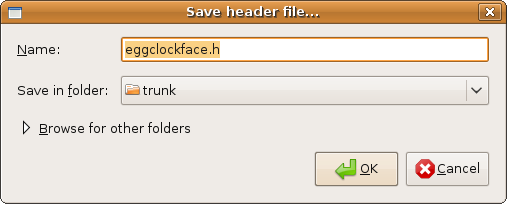
If the language that you've chosen requires a header file, then you'll also get a save-as dialog for the header file
Results
The results of this will vary depending on which codegen plugin you use. For the official C plugin, the results are these files:
eggclockface.c eggclockface.h eggclockfacemarshal.c eggclockfacemarshal.h
eggclockface.c and .h are the main source and header files of the class. If your class's parent is a GTK+ widget, then you'll need to change the "#include <glib.h>" line to "#include <gtk/gtk.h>".
eggclockmarshal.c and .h are the files for the special marshaller functions created from the GSignalCMarshaller field. These will only be created if you use a non-standard marshaller. You shouldn't need to edit these files.
For the official Python plugin, only one file is created:
eggclockface.py
Once again, if your class's parent is a GTK+ widget, then you'll need to change "import gobject" to "import gtk". You may also need to change TRUE and FALSE to True and False.
Other documentation
In addition to the normal GUI, GClassGen also offers a a command-line-interface (CLI). Running "gclassgen --help" will give this:
Usage:

				gclassgen [OPTION...] - CLI for GClassGen


				Help Options:

				-?, --help                  Show help options


				Application Options:

				-C, --class-name            The C name of your goal class (like GClassName)

				-P, --parent-class-name     The C name of the parent class of your goal class (like GObject)

				-p, --has-private           Does the class have a private data structure? (like GClassNamePrivate)

				-m, --codegen-module        The name of the code generation module to use (relative or absolute)

				-s, --source                Make GClassGen generate a source file

				-h, --header                Make GClassGen generate a header file
So, for example, to create a minimal EggClockFace widget we would run something like the following command to get the source file:
gclassgen -C EggClockFace -P GtkDrawingArea -p -s -m path/to/codegenmodule.[so dll]
and would run something like the following to get the header file:
gclassgen -C EggClockFace -P GtkDrawingArea -p -h -m path/to/codegenmodule.[so dll]
The resulting files are printed to standard output.
